How to create a delivery flow
Step 1 - Create a Delivery flow
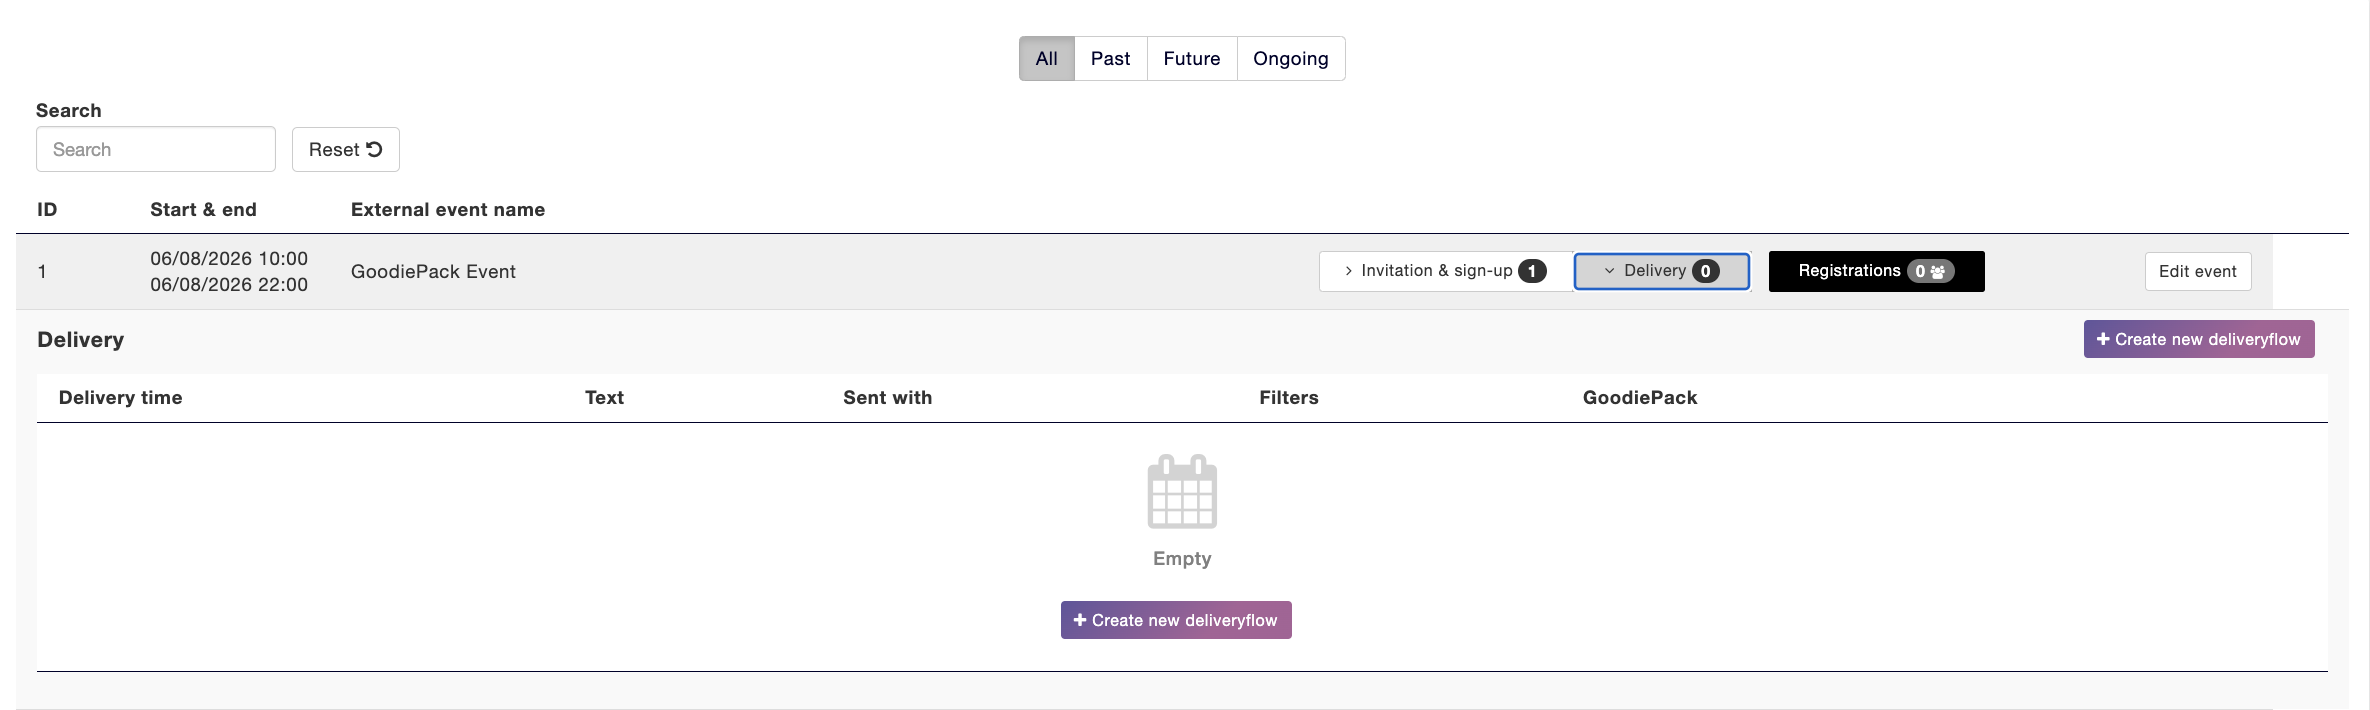
Now you need to create the delivery flow for your event. You start by clicking on Delivery.
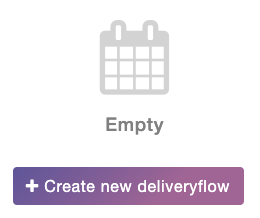
Then you click on Create new deliveryflow.
Step 2 - How to set up a delivery flow
Now this window will pop-up on your screen. Here you first see your event name and when your event starts. You can also adjust the share time for when the delivery flow will be send out and pick between to delivery methods.
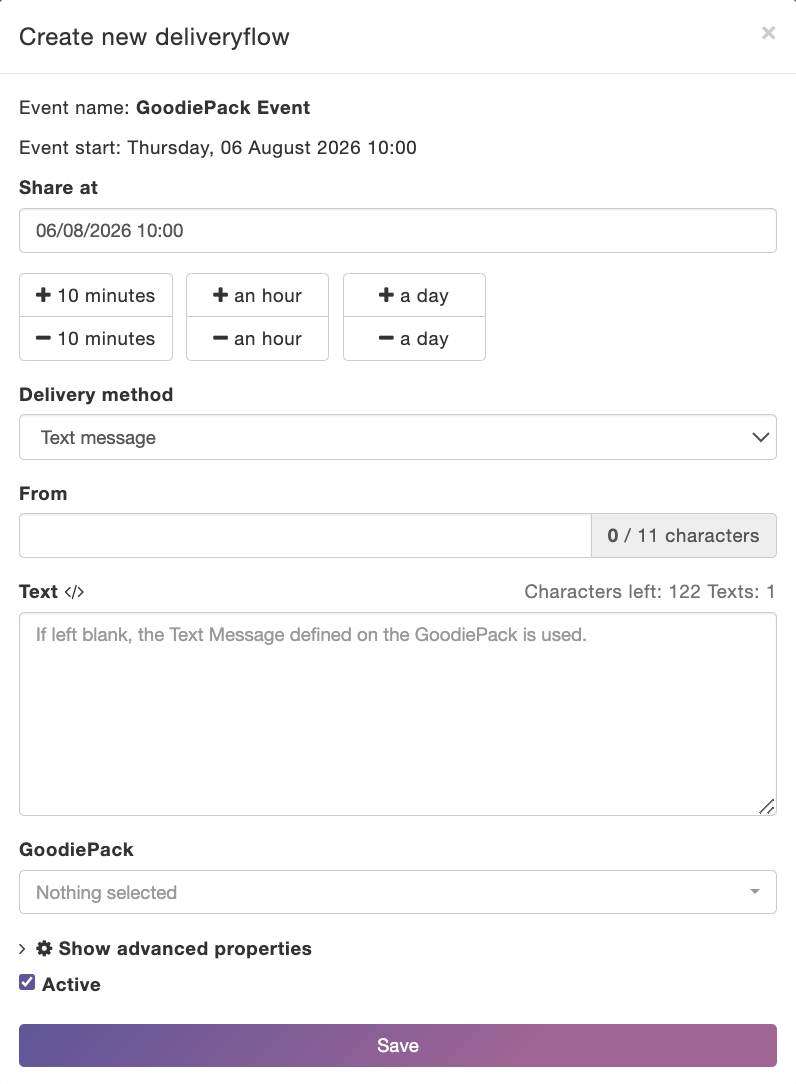
Which you can see if you open the dropdown menu under Delivery method. Here you can pick between Text message or Email.

Step 2.1 - Text message
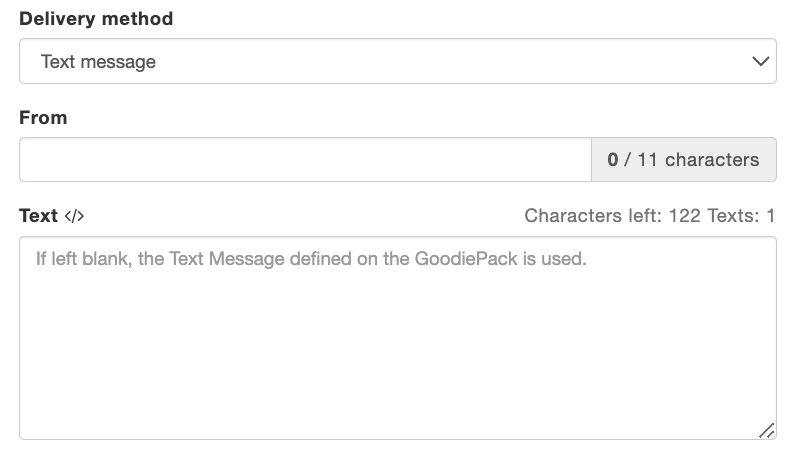
If you choose Text message you write who the message is from, this could be your company name or the name of your event. Underneath you write your Text. If this space is left blank, the message defined on the GoodiePack is being used.
Step 2.2 - Email
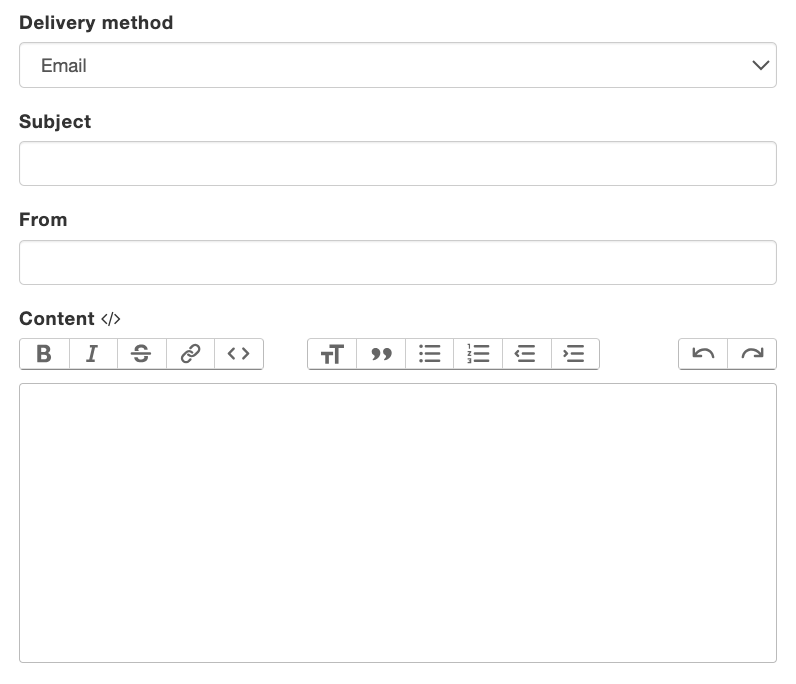
If you choose Email you first have to write the subject of the email, than who it's from - this could be your company or the name of the event. Lastly you need to write the content of your email.
Step 2.3 - Choosing your GoodiePack
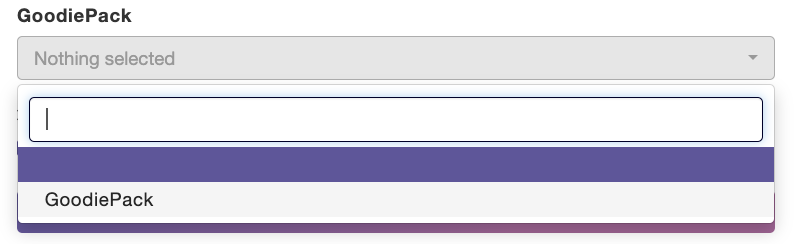
Next you pick which GoodiePack you want to link to in your delivery flow.
Step 3 - Activate
Lastly, you decide if your delivery flow should be active or not. By default your delivery flow will be active.
Step 4 - Save
When you're done with your delivery flow you click Save.

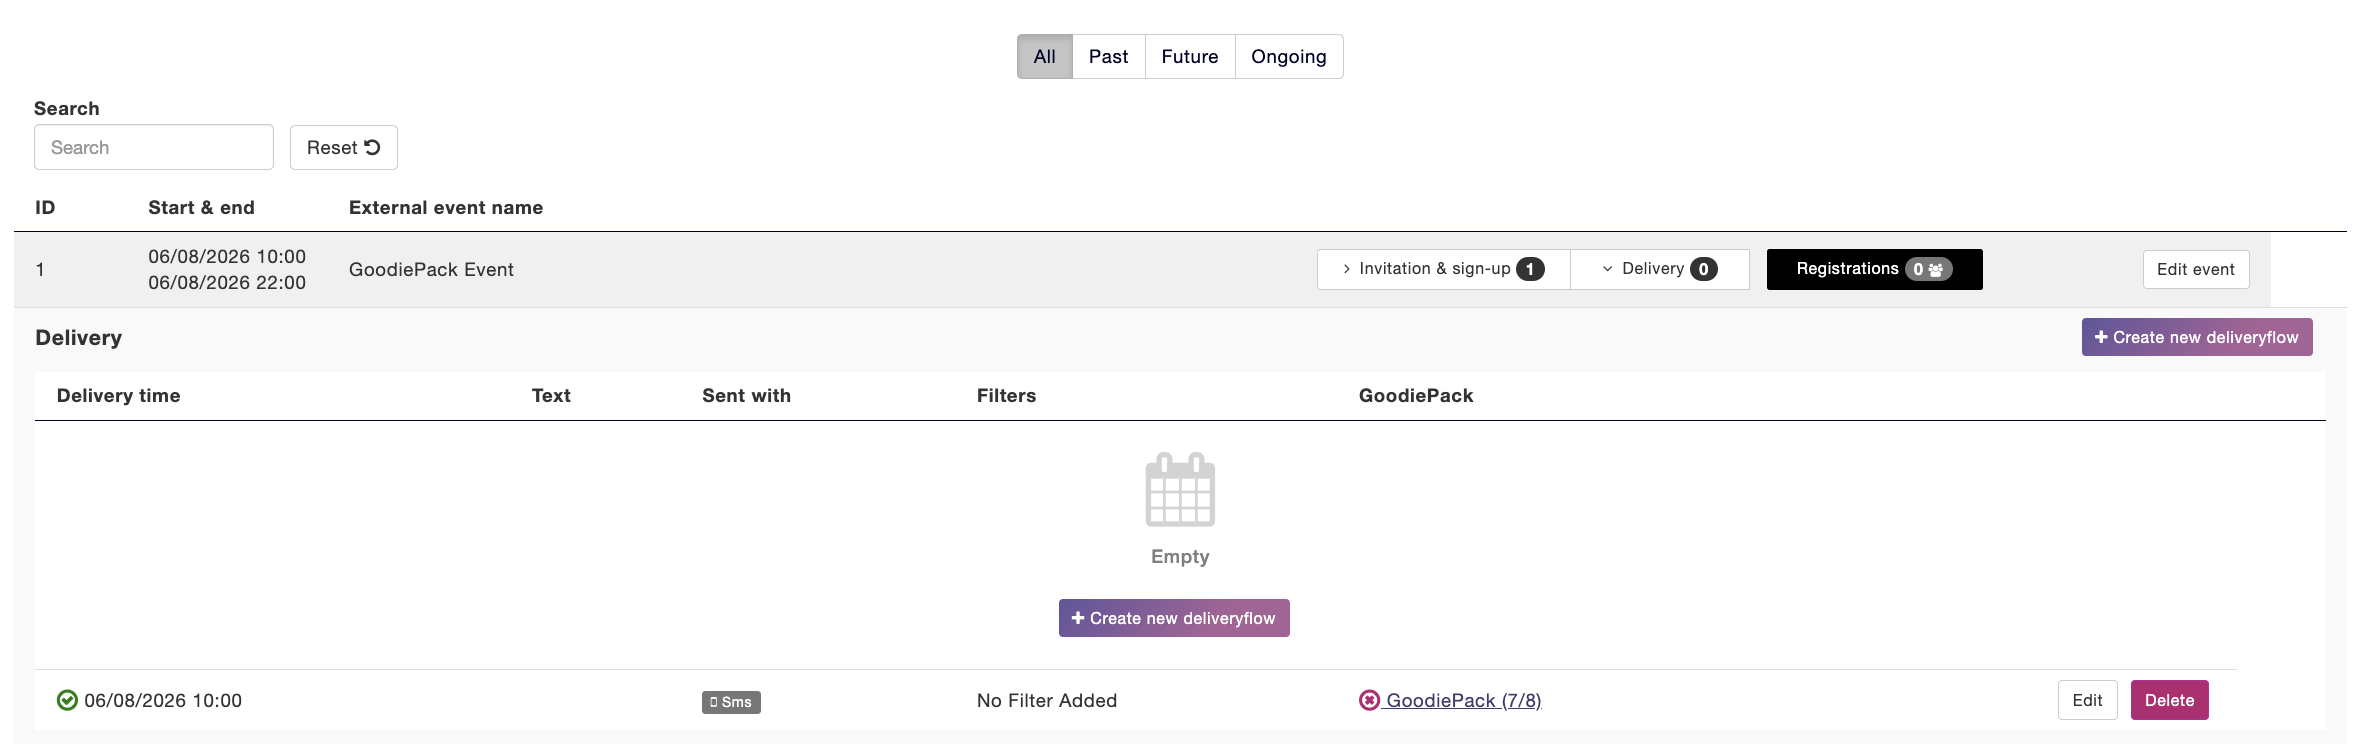
Now you will find your delivery flow on your front page. Here you can choose to edit- or delete your delivery flow.