How to create an invitation and sign-up page
Step 1 - Invitation & Sign-up
Now you need to make an invitation for your event. You start by clicking on Invitation & sign-up.
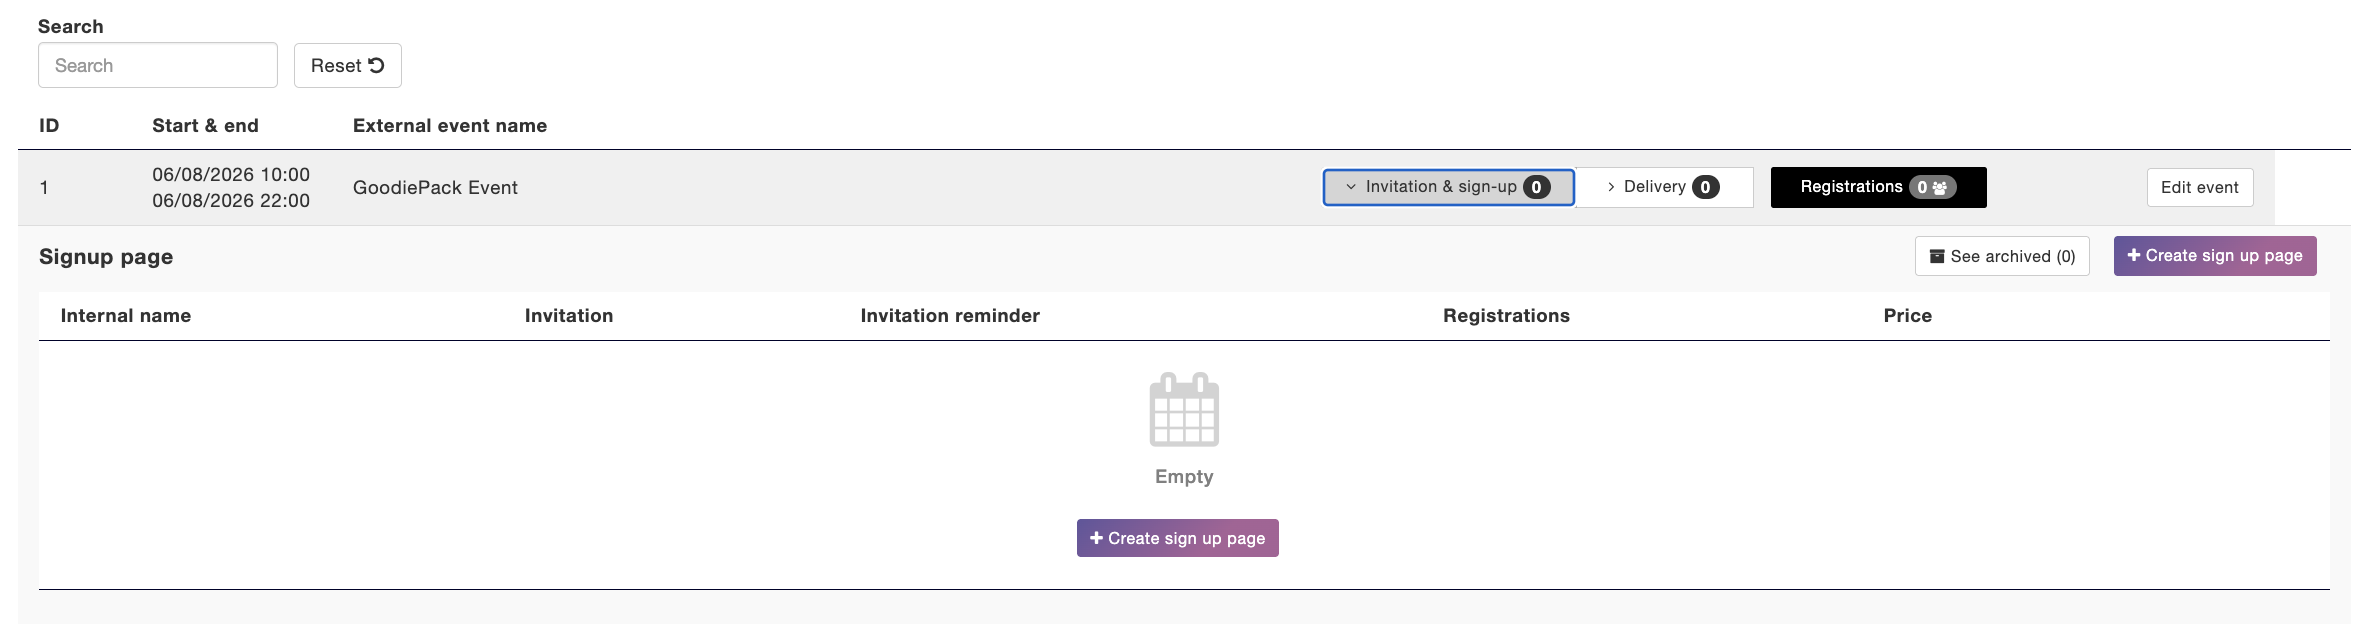
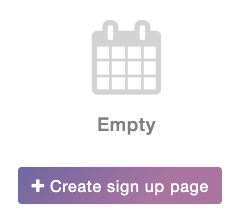
Here you click on Create sign up page.
On this page you're met with four options
- Customize page
- Question
- Communication
- Settings

Step 2.1 - Customize page
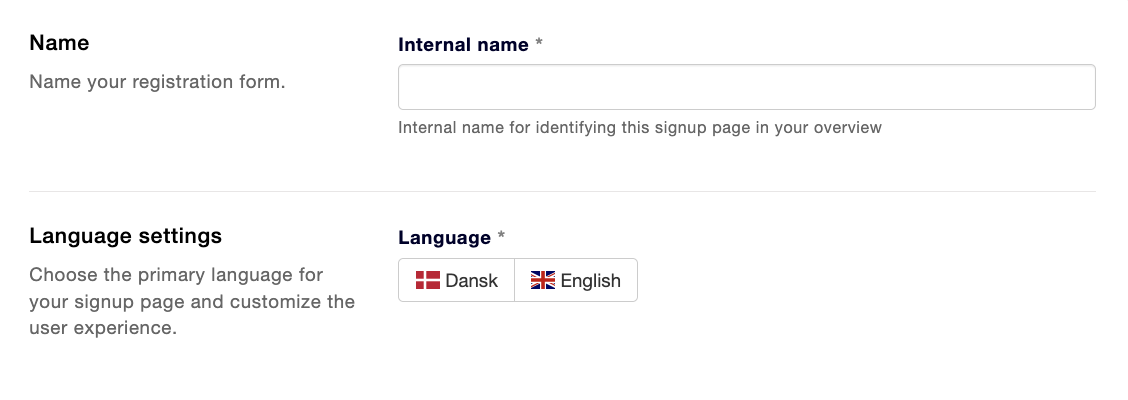
First you give your sign-up page an Internal name so it's easier to identify this exact sign-up page in your overview. You also choose the primary panguage for your sign-up page.
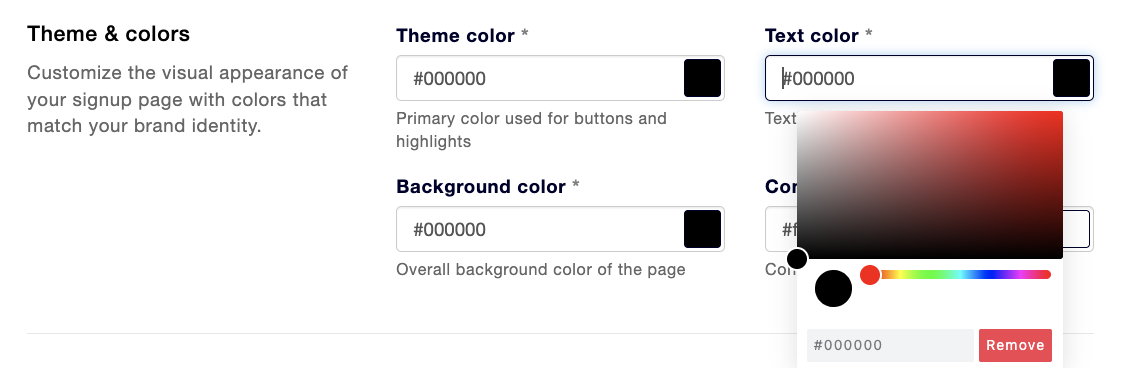
Next, you need to pick a theme and colors. It's possible for you to change the Theme color, Text color, Background color and Content background color. When you want to change the color it works in the same way for all four.
You have to do the following in the field below the type of color you want to change:
First, click on the field. Then a color field appears in which you can choose different color by scrolling up and down the bar on the right. Otherwise, you can also insert the color code for the color you want in the field yourself.
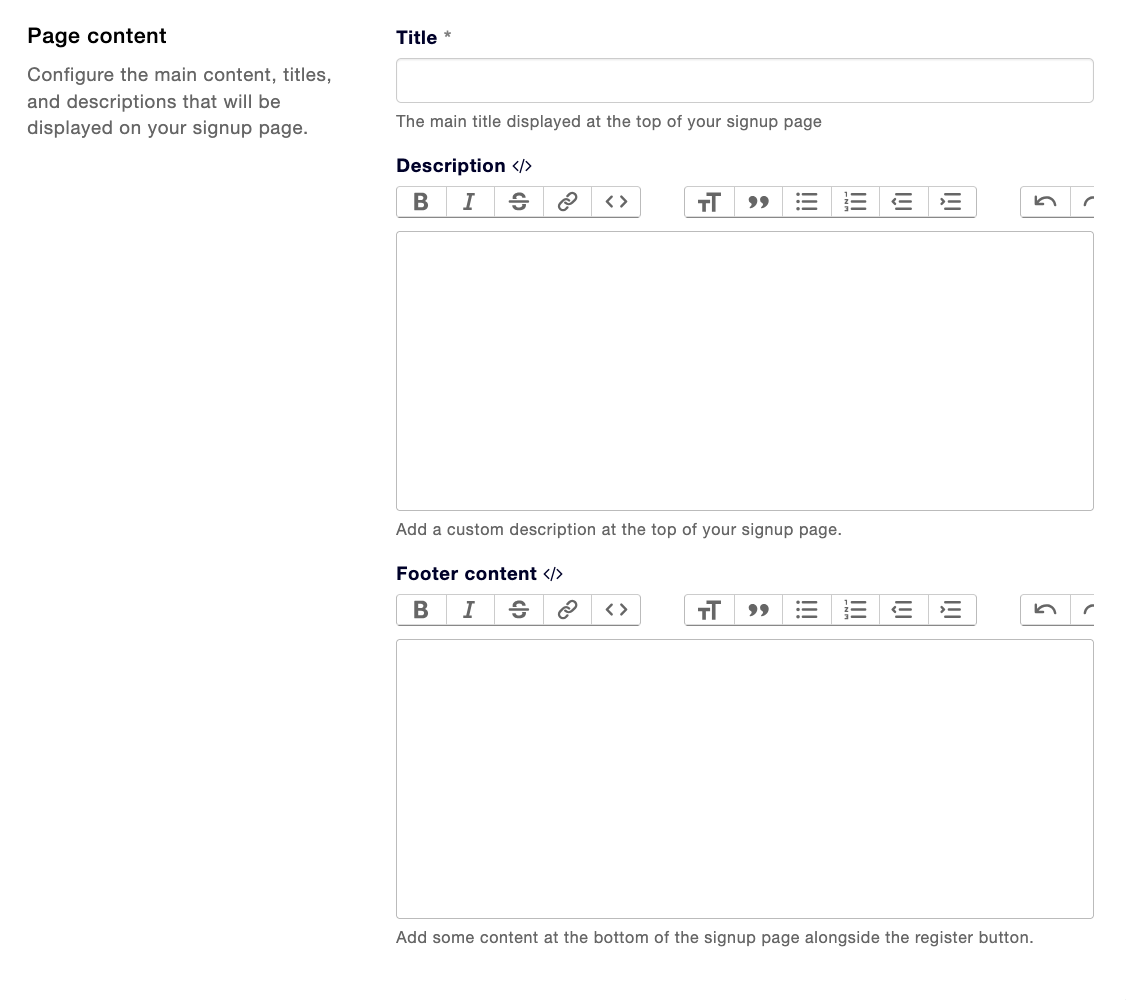
Now you need to create the Page content. You have to give the page a title, description and a footer content.
Step 2.2 - Questions
Now you need to give your sign-up page some information.
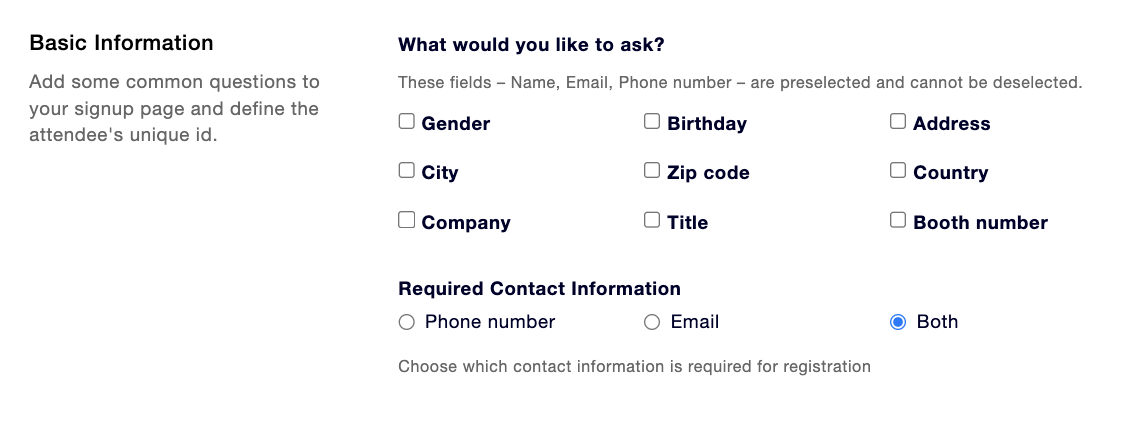
First the basic information. Here you see a list of predetermined questions where you tick off the relevant questions to your event. You also decide if you want required contact information. By default the 'both'-box is ticked off.
You can also add Custom questions to your sign-up. In this example we use Add single-choice question. the procedure is the same for alle three types. You can add more than one question to your sign-up page.
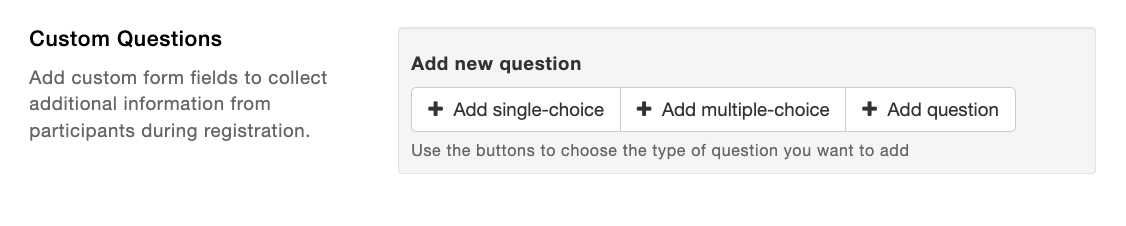
You add your question to the box underneath Question.
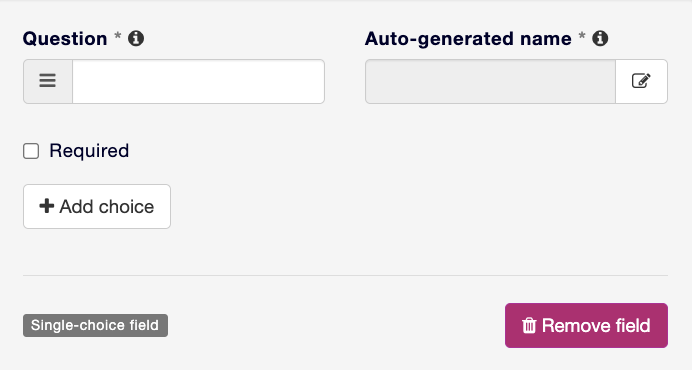
Then you add your answer-choices yo clicking Add choice.
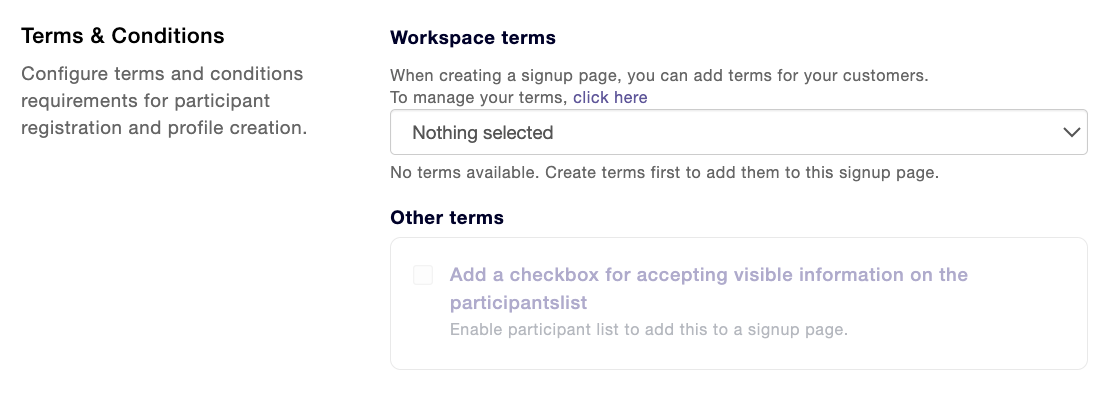
If you have any terms for your customers you can add them to your signup-page. Start by clicking on 'click here' right on top of the box that says "Nothing selected"
That request leads you to this page. Here you click on New in the right corner of the page.

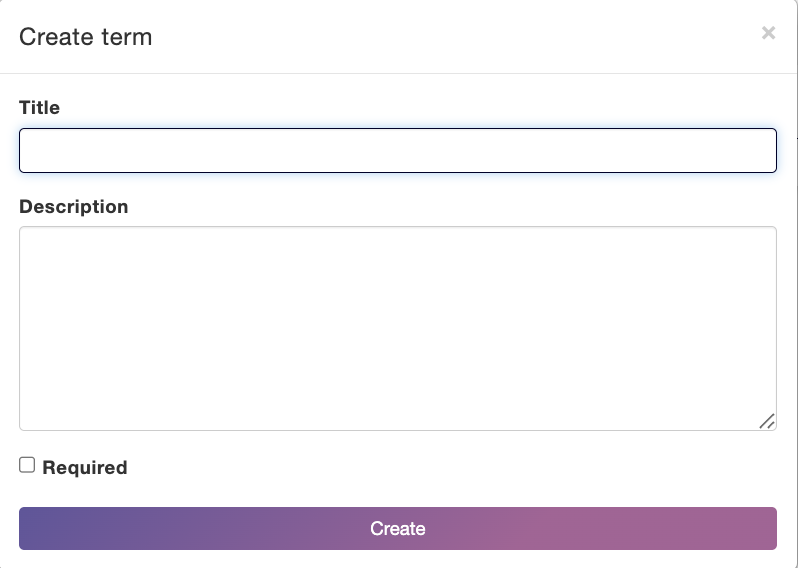
Now this window will open where you can Create a term. Here you give the term a title and description. You also decide whether the term is required or not. If the term is required you tick off the square on the left side of Required.
Step 2.3 - Communication
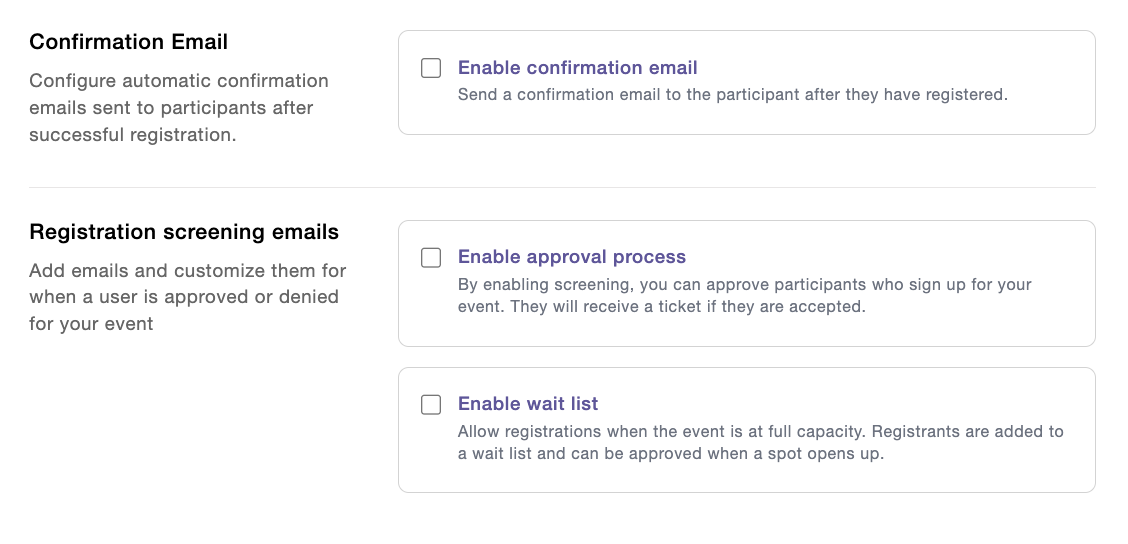
If you want your participants to receive a Confirmation email after registration, you tick off the square on the left side of Enable confirmation email.
When you've ticked off Enable confirmation email you get to fill out who the email is from, the subject line for the email and also the content of the email.
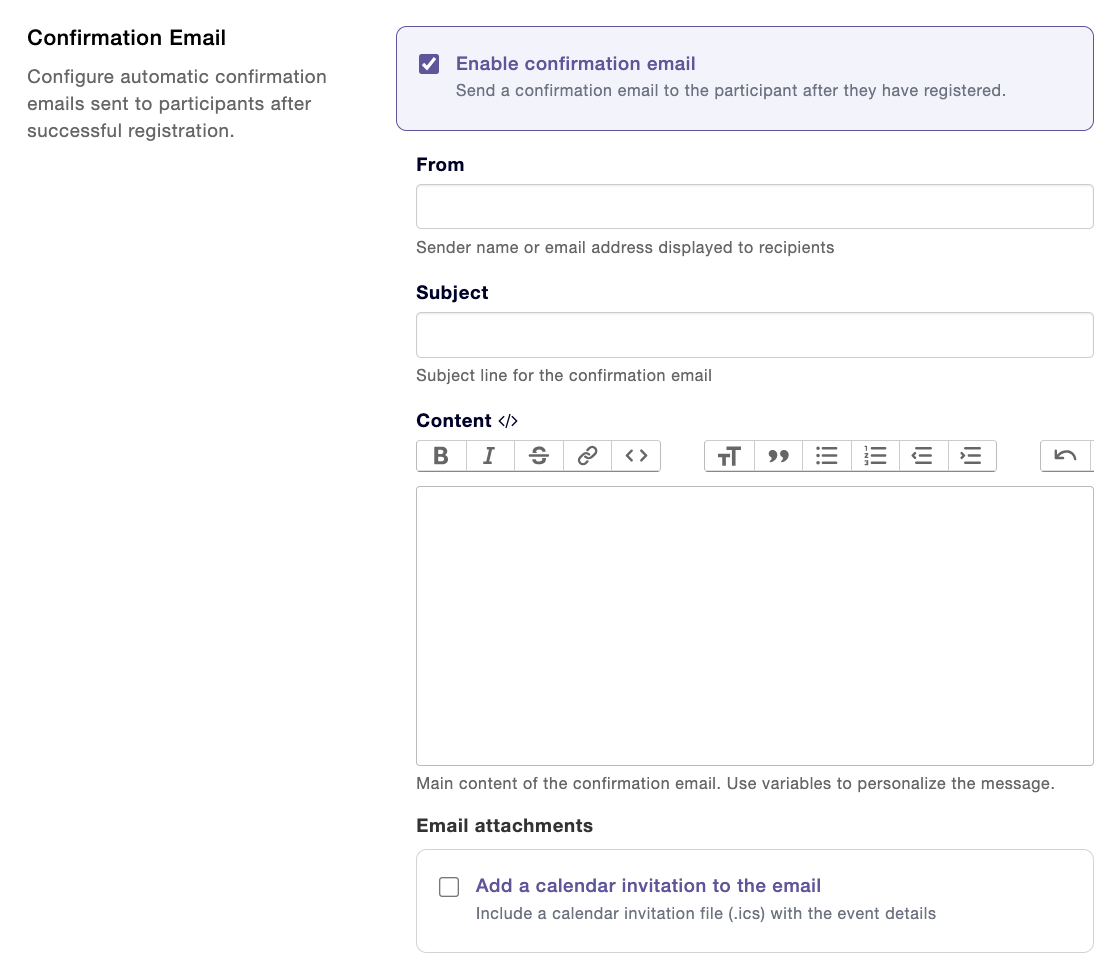
If you want to include a calendar invitation file with the event details, you tick off the square box on the left side of Add a calendar invitation to the email.

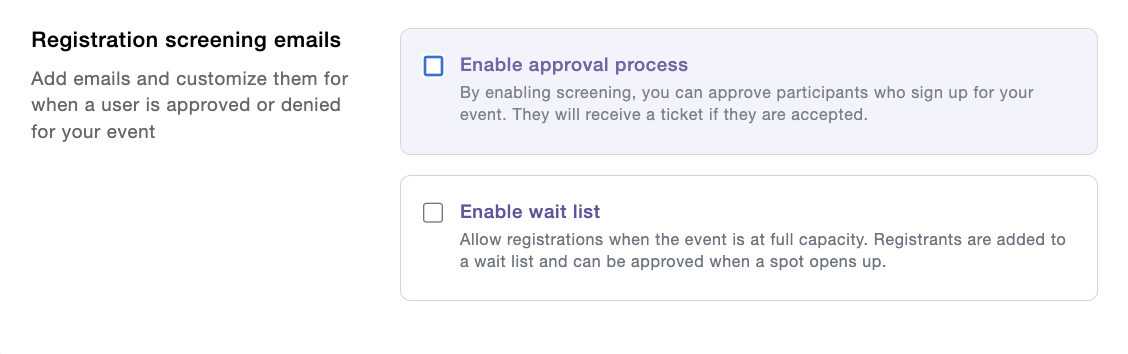
You can also add Registration screening emails. You can choose between Enable approval process and Enable wait list. You do that by ticking off the square on the left side of the choice.
Step 2.4 - Settings
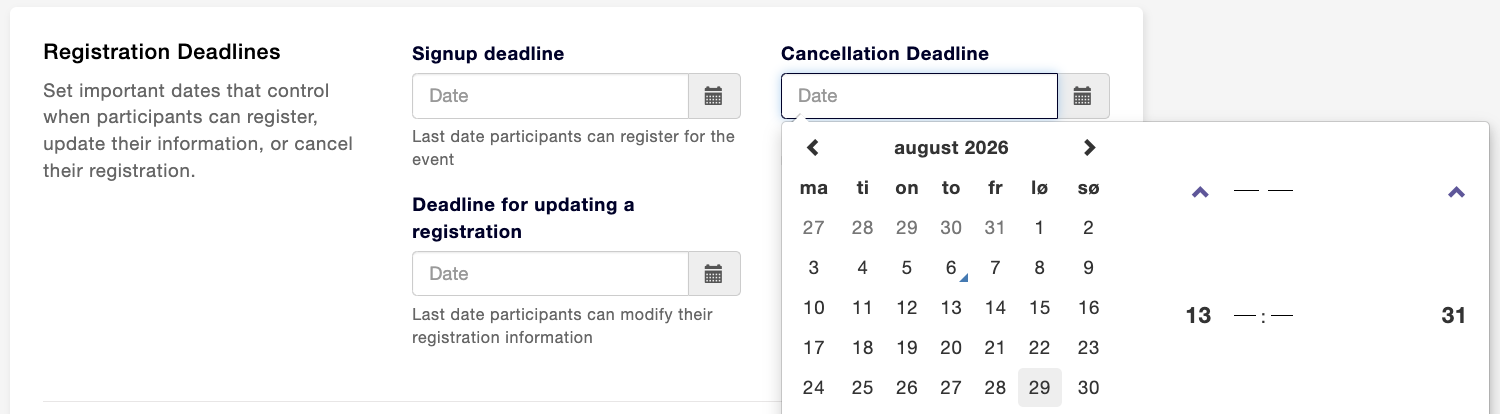
You add a Registration deadline by clicking on Signup- and Cancellation deadline where a calendar will pop-up. Here you need to find the said date. You can also add a Deadline for updating a registration. You do so the same way as you add a signup- and cancellation deadline.
If you have a Registration limit on registrations. You do so by adding the number to the field under Maximum Registrations.

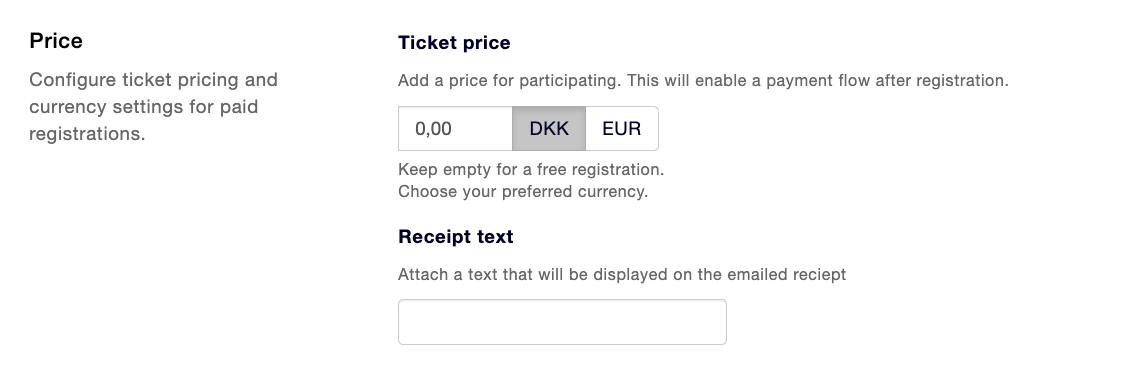
You add a ticket price to your event by entering the price in the field under Ticket price. Here you also decide whether the price is in DKK or EUR. Then you can write a Receipt text. The text you write will be displayed on the email receipt.
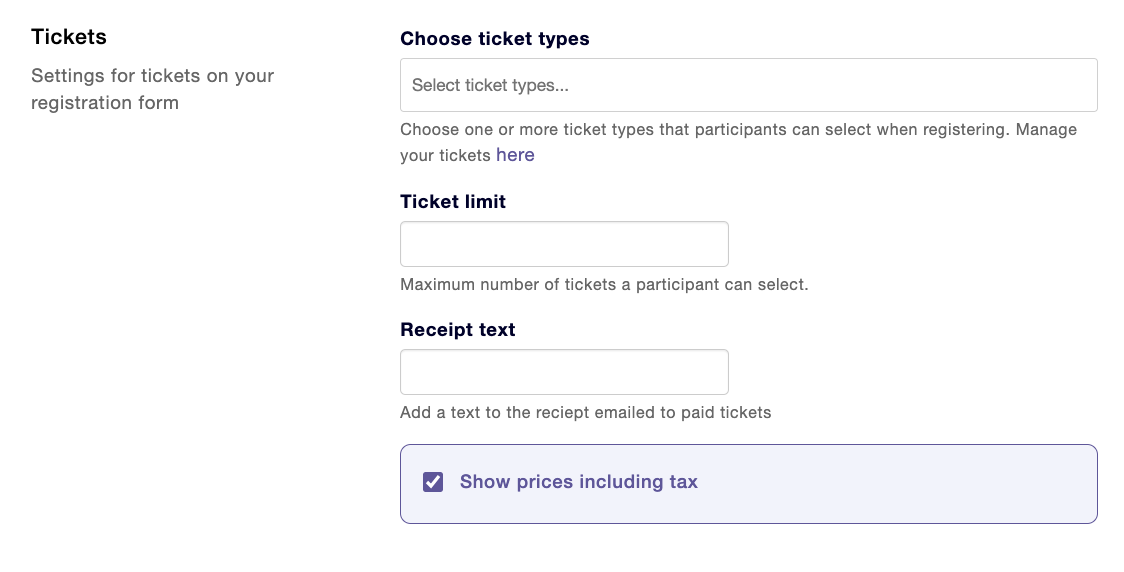
You can add a maximum number of tickets a participant can select under Ticket limit and write a Receipt text. The text you write will be displayed on the email receipt. By default Show prices including tax is selected. If you don't want that, you tick off the square on the left side of Show Prices including tax.
Lastly under Public settings you need to choose if the sign-up page should be public or not. If you want your page to be public you tick off the square on the left side of Make the signup page public.

Step 3- Save
When you are done with your sign-up page you click on Save.

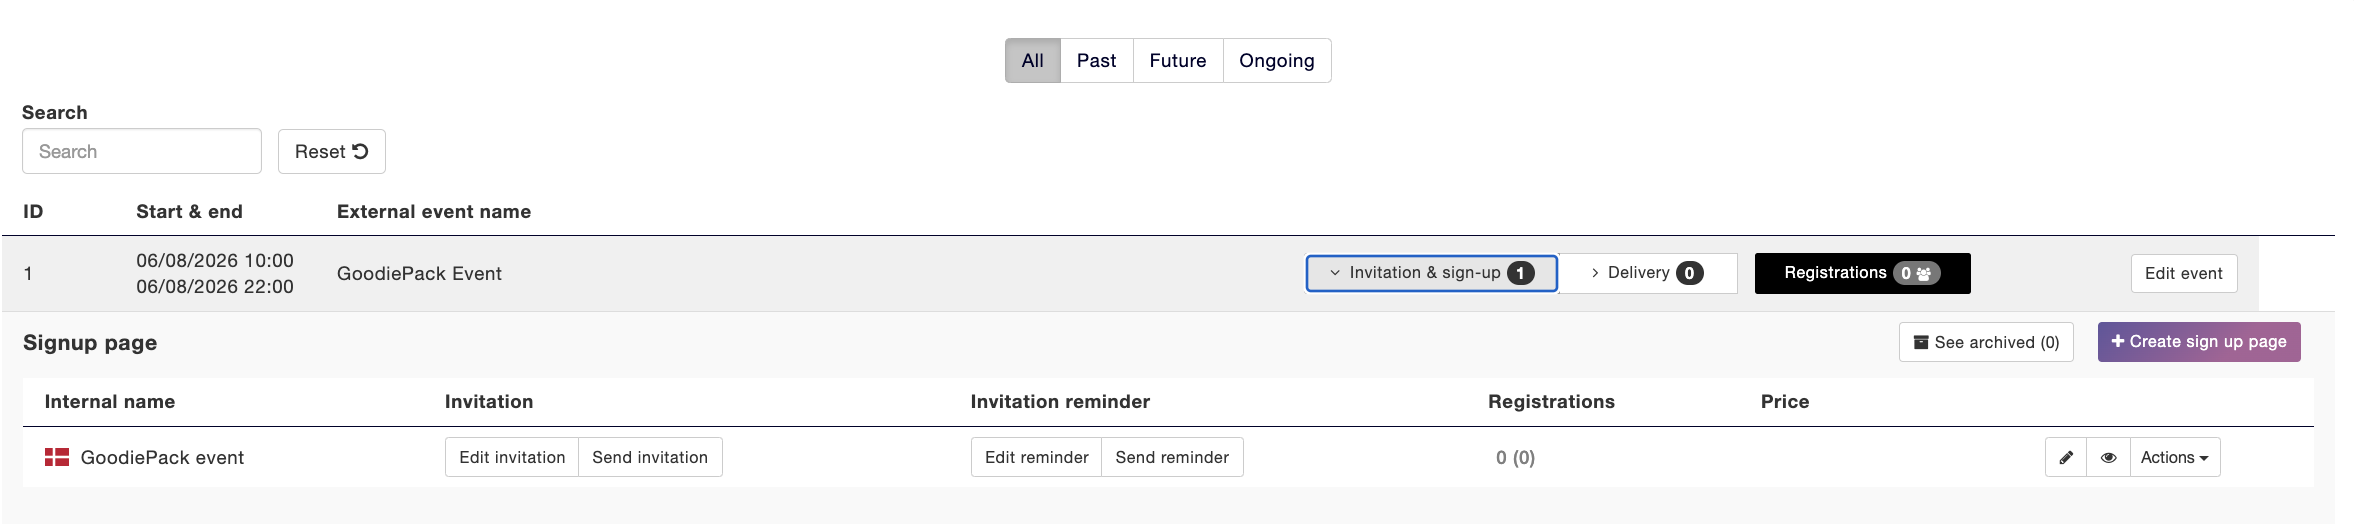
Now you'll find your invitation on the frontpage of Events. Here you can also Edit Invitation or Send Invitation and Edit reminder or Send reminder.