How to create a GoodiePack
Step 1 - Create a new goodiepack
To create a new GoodiePack, click on GoodiePacks on the left.
Click the Create a new goodiepack button located at the top right of the page.
Step 2 – Basic properties
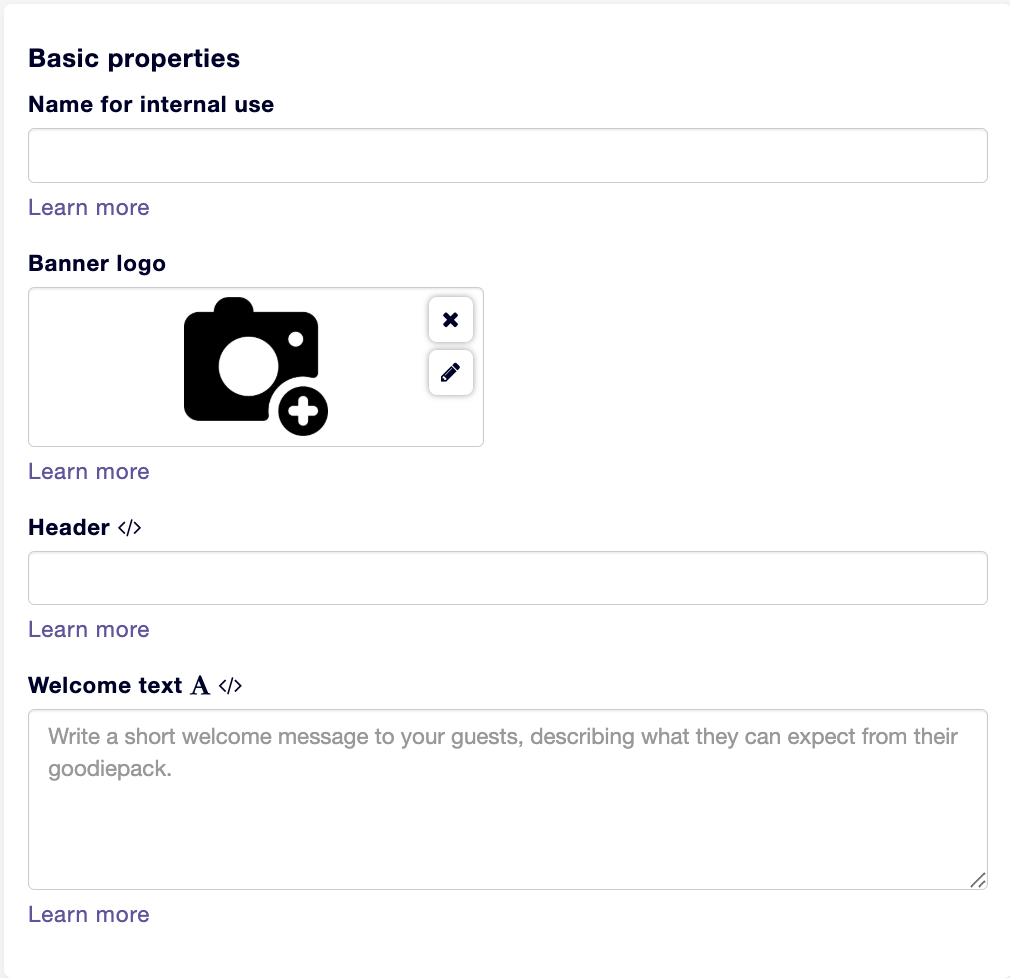
It is now time to design your goodie pack. You do this by filling in the various fields on the page, after which you can proceed with creating your GoodiePack. First, enter the internal name. This name is for administrative use and will not be shown to customers.
Next, select a banner logo to be displayed at the top of your GoodiePack. Click the camera icon to upload the image you wish to use. Choose a landscape-oriented image in .jpg or .png format that is at least 100 pixels high.
You also need to give your GoodiePack a Header. This will appear below the logo in your GoodiePack.
Next, you need to add a Welcome text to your GodiePack, explaining to guests why they have received it and how they can use it.
It is a good idea to personalize the GoodiePack by including the guest's name — for example, "Dear Line."
You can do this by entering the following in the field: Dear %{customer.firstname, "guest"} If the guest's name is unknown, the system will automatically display "Dear guest" instead.There are also other merge fields you can insert into the welcome message. You can find more information about this by clicking the icon to the right of "Welcome message":
Step 3 - Color palette
Now, select the Color palette for your GoodiePack.
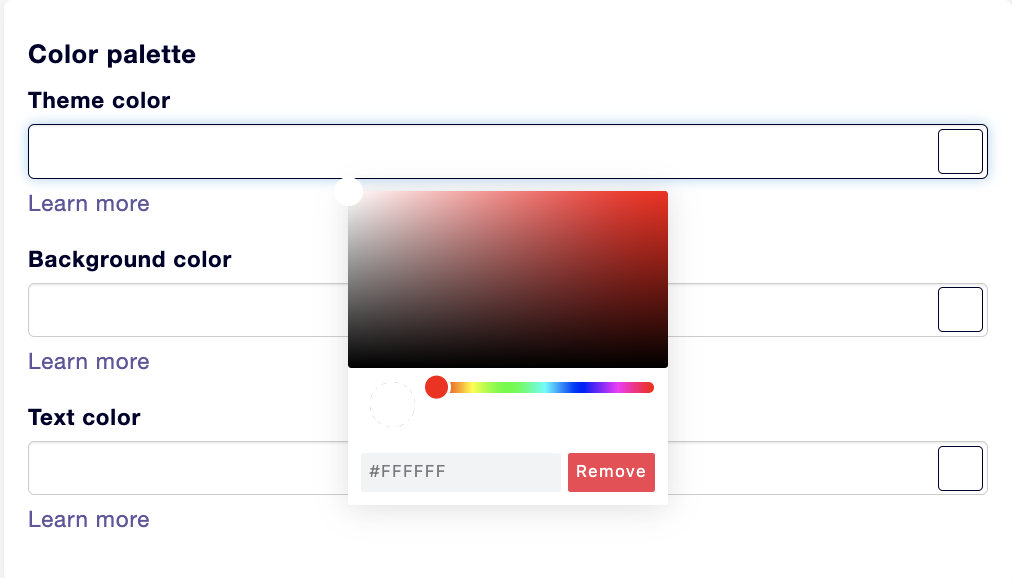
First, choose the theme color you want for the elements within the pack. The color you select will appear on the circles surrounding the images of your goodies, as well as on the buttons within the pack.
You might want to choose a color that matches your logo or another color used by your company. You can select the color by either entering the specific color code in the field or by clicking inside the square and then moving the slider on the right up or down.
Step 4 - Language
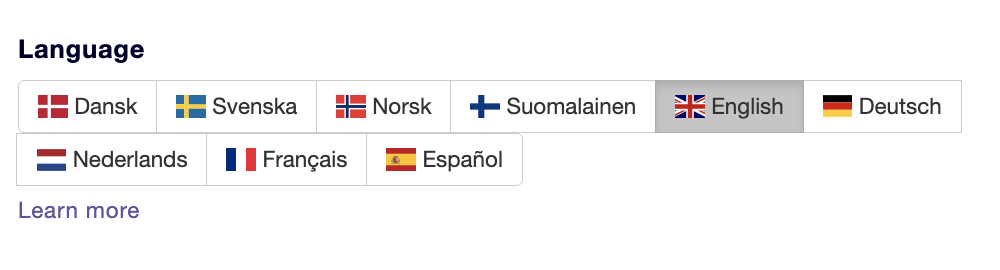
Next, you can select the Language for the standard buttons in your GoodiePack.
Note: Please ensure that all the text you enter matches the selected language. The system only translates the text on the standard buttons, not your own content.
Step 5 - Activation period
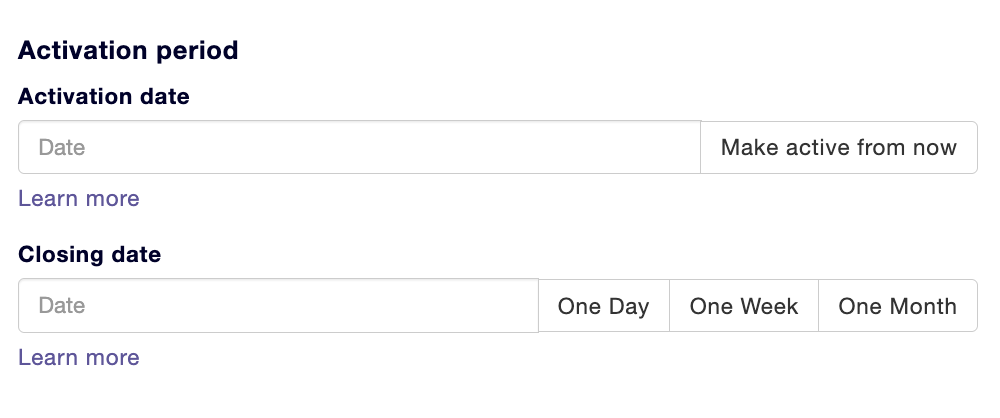
You must now select an Activation date for when your GoodiePack will be visible to your guests. If you do NOT select a date, your GoodiePack will not be visible until you do so. You can set an activation date by either clicking the field and entering a date manually or by selecting a date from the calendar.
You can also click the "Make active from now" button, which populates the field with the exact time you clicked the button.
You can also select a Closing date for your GoodiePack. This determines when the GoodiePack will no longer be visible to your guests.
If you do not select a closing date, your GoodiePack will remain active until you manually close it. You can set a closing date by either clicking the field and entering a date or by selecting a date from the calendar. You can also click one of the three fields with predefined timeframes.
Step 6 - Save to homescreen settings
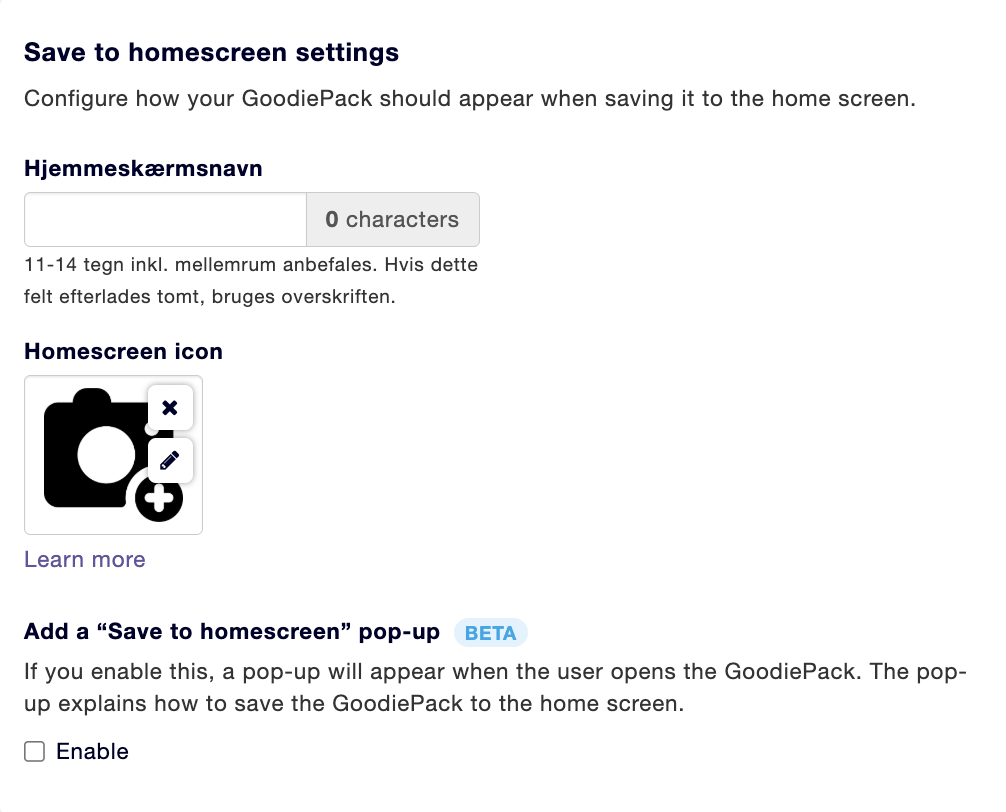
You can then select a home screen shortcut icon that will be displayed if your guests save the oodiePack to their phone's home screen. It is a good idea to use the same icon here that serves as the logo for your GoodiePack. Upload an image by clicking on the camera icon. Choose a square image that is at least 180x180 pixels in .jpg or .png format.
Step 7 - Directions
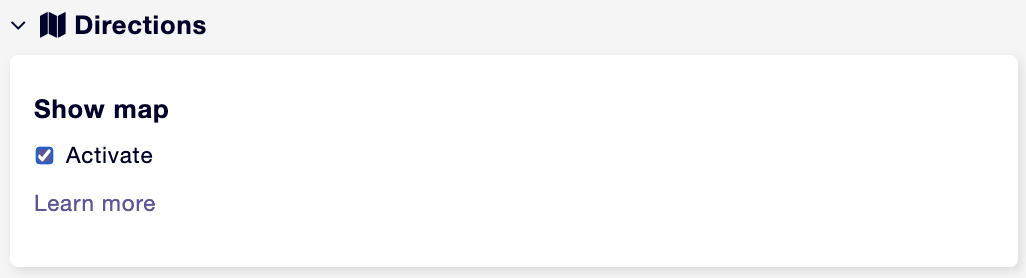
Under Directions, you can choose to display a map at the top of your GoodiePack showing the addresses of the goodies included in the pack. You do this by clicking the box next to "Activate."
Step 8 - Sharing
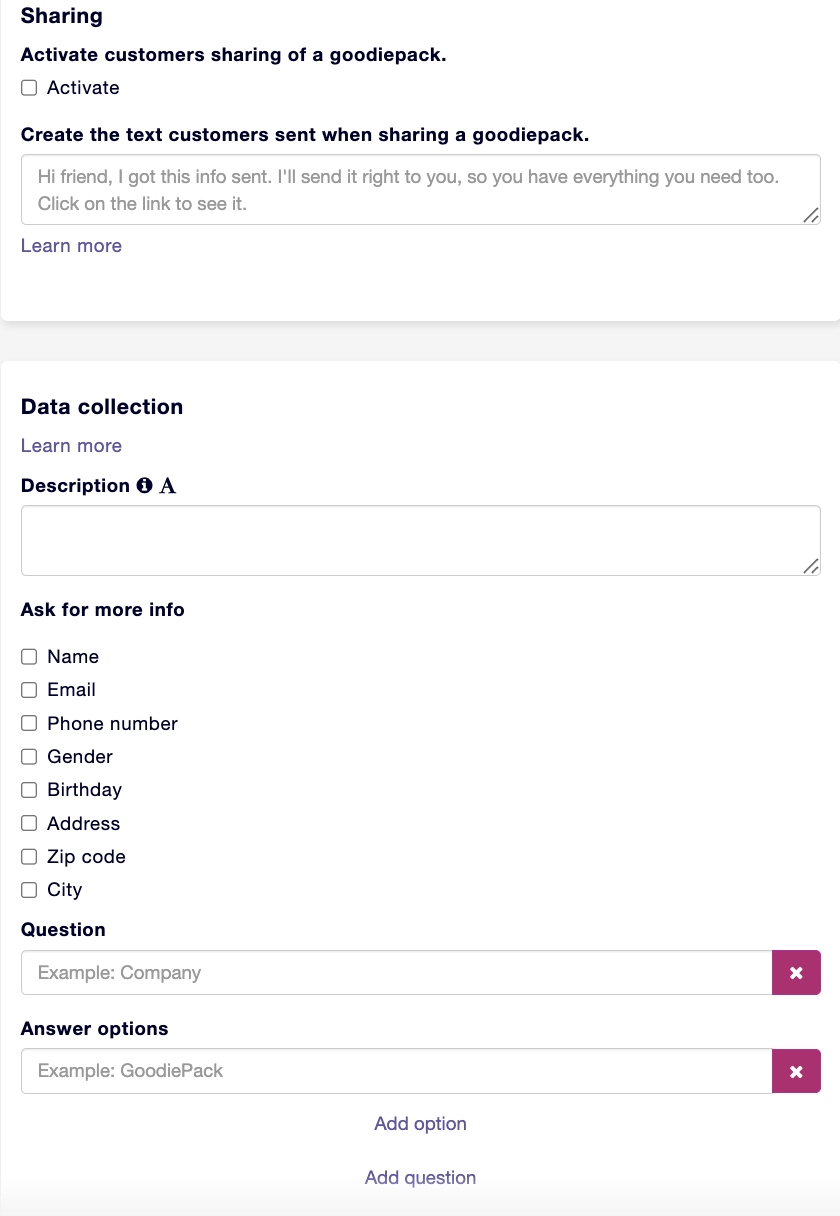
Here, you can give your guests the option to share a new GoodiePack with their companions. To activate this feature, click the white box next to Activate. In the text field, you can enter the message that guests will send when sharing their goodie pack with others.
As a final step, you can select the specific details you wish to collect about the guest. This appears as a pop-up field that the guest must complete the first time they open their GoodiePack. The guest cannot access the GoodiePack content until they have filled out this pop-up field.
For instance, if the guest has already provided their name and phone number during booking or ticket purchase, you already have this information, and the guest will not see this pop-up.
You can select from predefined information fields—such as name, email, etc.—by clicking the box next to them. Additionally, you can add your own questions and answer options by typing them into the text fields.
You can provide as many answer options as you like for each question. If you do not specify any answer options and simply leave the options field blank, the guest will be presented with an open text field to fill in themselves. This is useful when you do not know all the potential answers to a question in advance.
Example: A question could be “Company,” with “GoodiePack” as a possible answer.
Step 9 - Marketing
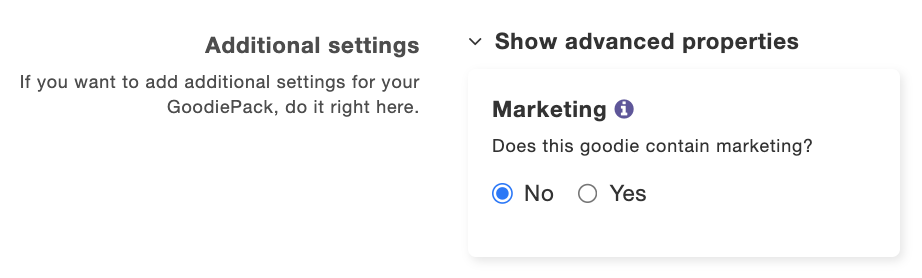
If the goodie contains marketing you need permission to show it to the guests. If the goodie contains marketing you have to choose Yes in the dropdown menu to the right of Marketing. Does the goodie not contain marketing you have to choose No.
If you have stated in the settings of the goodiepack that you do NOT have permission to send marketing to your guests a lock will be shown on top of the goodie if it contains marketing. Thereby, the guests will have to actively click on the lock and give their permission before they can see the content of the goodie.
If you state that the goodie does not contain marketing it won’t be locked with a lock and it’ll just be shown as usual.
Step 10 - Save
When you’ve filled out the fields in this step you have to click on Save and continue at the bottom of the page to finish the creation of your reference goodie.