How to design a file goodie
Step 1 - Go to ‘2. Add goodies’
First off you have to click on 2. Add goodies in the manu at the top of the GoodiePack designer.

Step 2 - Click on ‘Add a goodie’
You then have to scroll down to the bottom of the overview of goodies. Here you have to click on the circle with the text Add a goodie.
Step 3 - Create file goodie
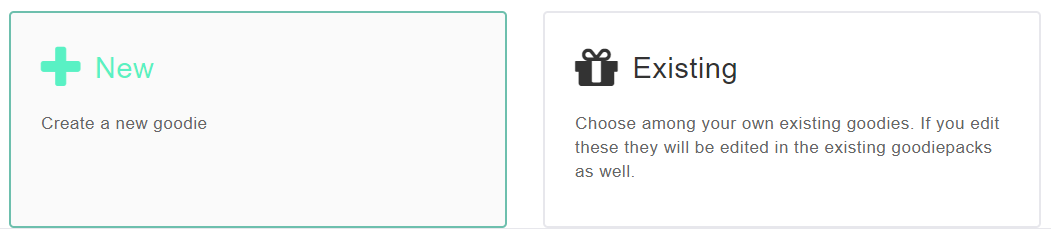
You can now choose whether you want to create a new goodie or if you’d like to use an existing goodie. Here you have to click on New.
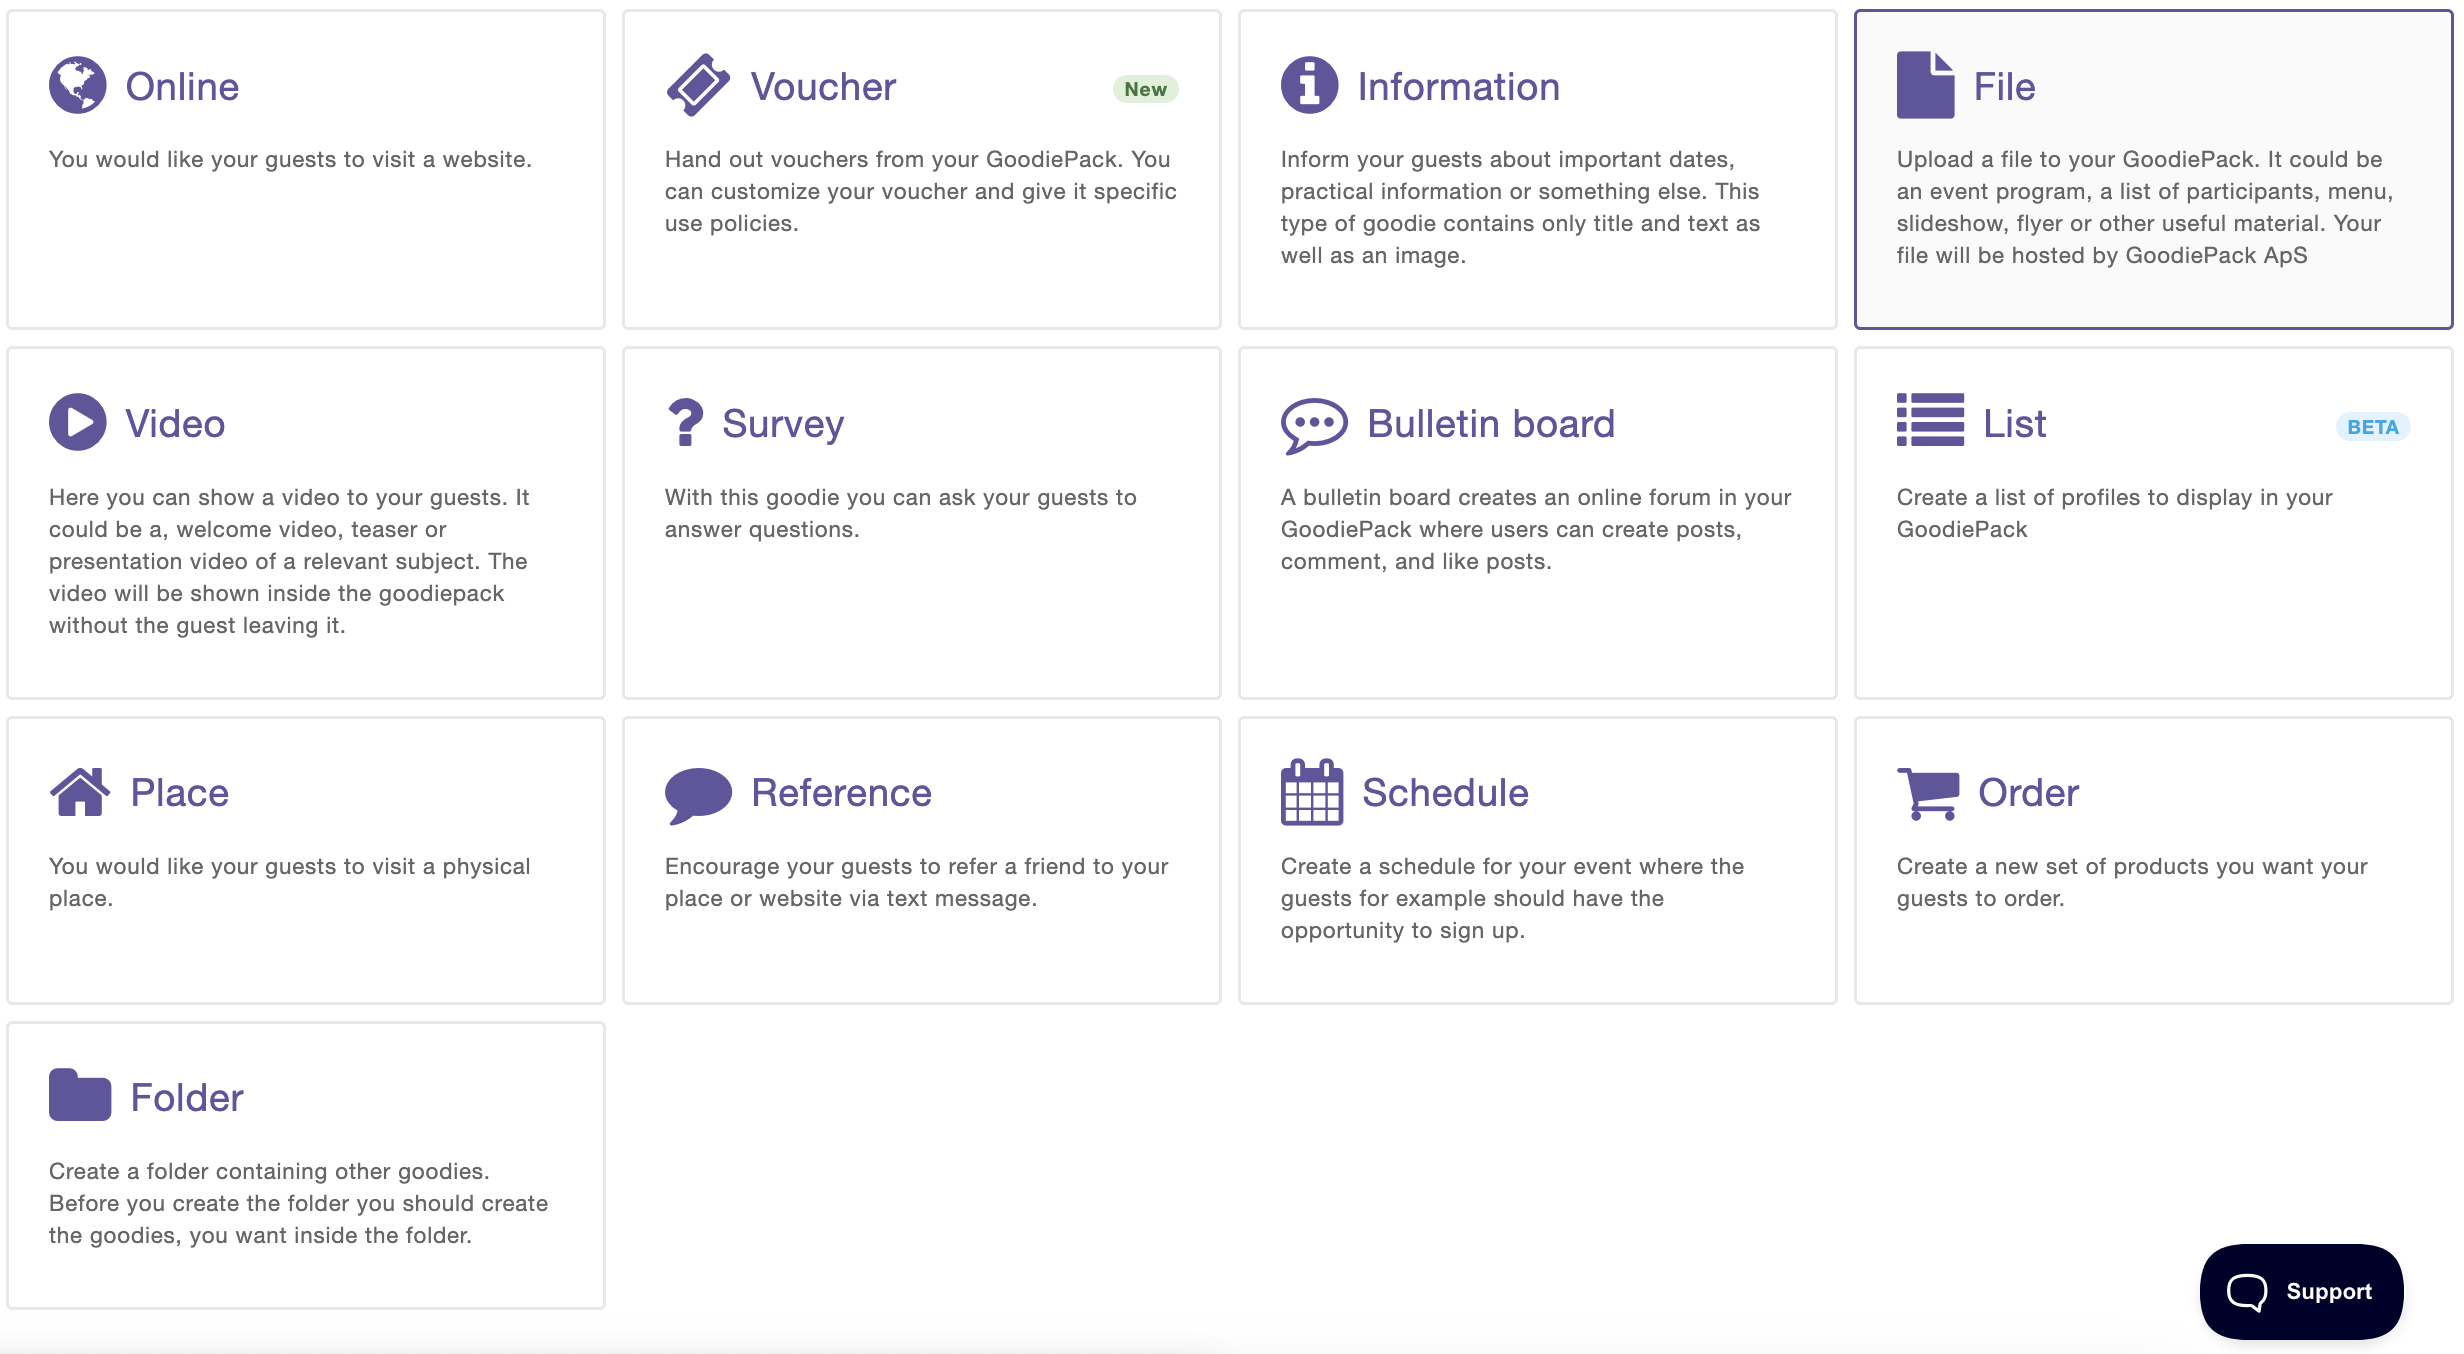
Afterwards you’ll see the overview of the different types of goodies and here you’ll choose the goodie called File.
Step 4 - Design the content of the goodiepack - First step
It’s now time for you to design the content of the GoodiePack which happens in two steps of which the first step is called 1. Feature and this is where you’re at now.
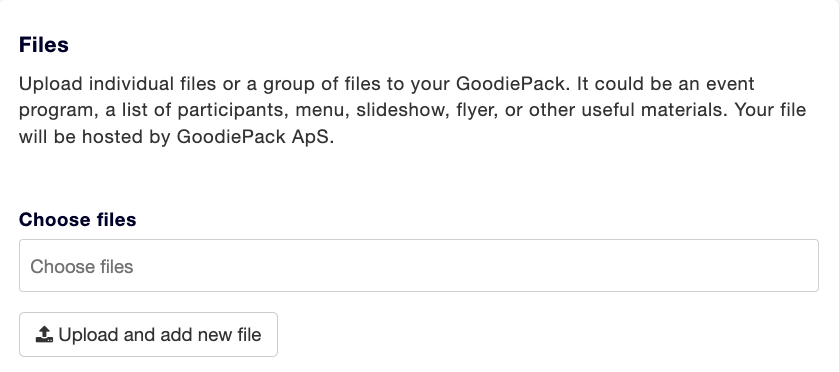
In this step you have to upload files to your GoodiePack. It could be an event program, a list of participants, menu, slideshow, flyer, or other useful materials. Your file(s) will be hosted by GoodiePack ApS and you can upload individual files or a group of files to your GoodiePack.
Step 4.1 - Upload your file(s)
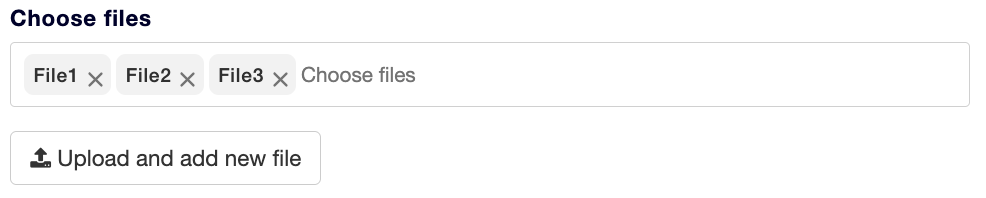
You upload your file(s) by clicking on Upload and add new file. Upload individual files or a group of files to your GoodiePack. It could be an event program, a list of participants, menu, slideshow, flyer, or other useful materials. Your file will be hosted by GoodiePack ApS.

When you have added your file you can give it a name. You delete a file by clicking on the X on the right side of your file.
Step 5 - Save and continue
When you have filled out the text field with the desired text you have to click Save and continue.

Step 6 - Design the content of the goodie - Second step
You’re now at the second and final step called 2. Content and here you have to fill out all relevant fields. . They can help make the goodie better and more interesting for those who use your GoodiePack.
Step 7 - Upload image
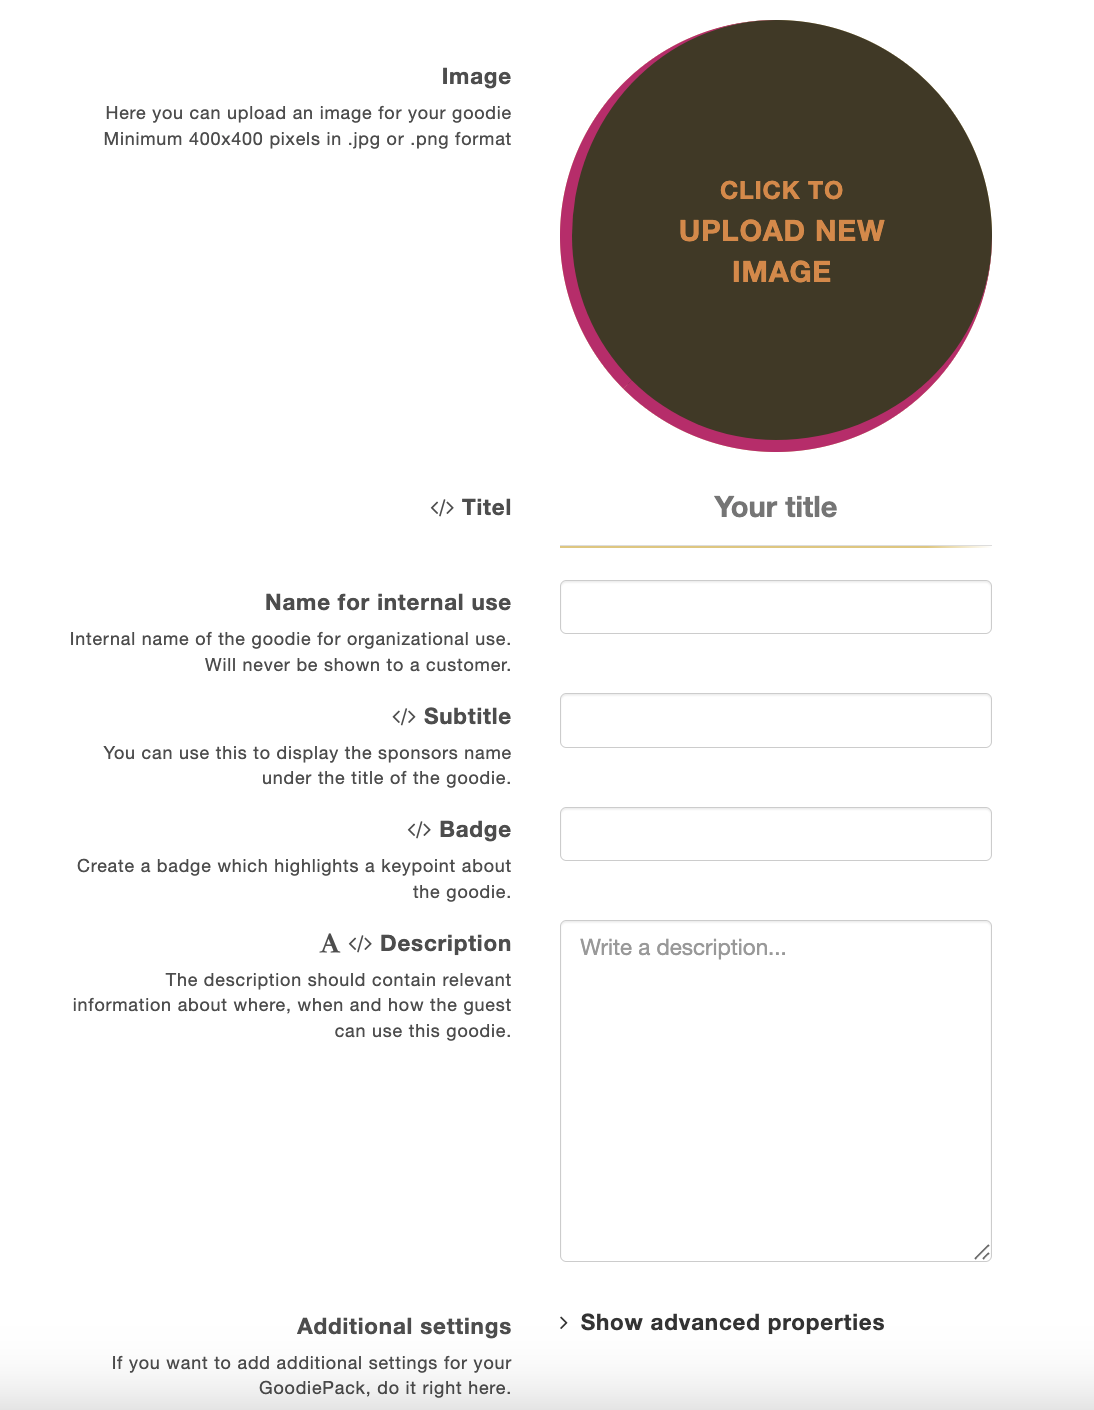
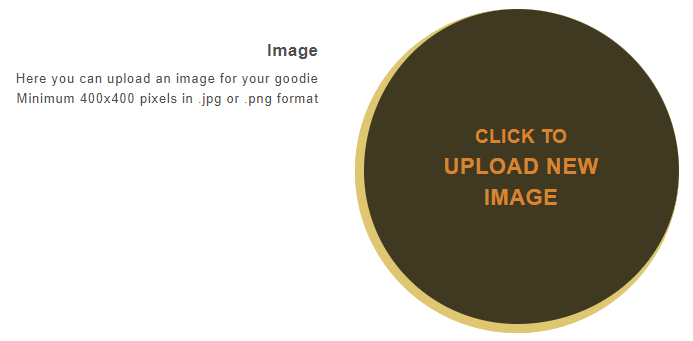
First off in this step you have to upload an image to the goodie. The image should visualize what the goodie is about since it’ll then become easier and faster for the guests to see what the goodie contains. To upload an image to the goodie you must click on the circle that says Click to upload new image.
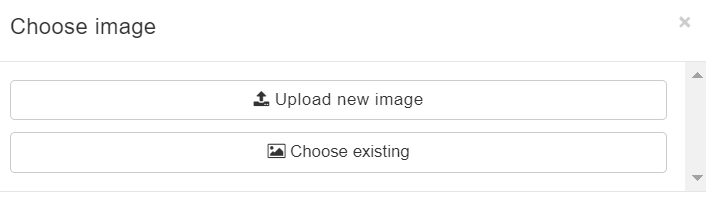
Then you can choose to either upload a new image or choose an image that you’ve previously used.
When you’ve chosen the desired image you can adjust which part of the image that should appear in the goodie. Then click Accept.

Step 8 - Give the goodie a title
You then have to give the goodie a title. You enter the desired title in the text field to the right of Titel. Here you’ll type in an appropriate title that is short and exact. The text field also supports interpolation which you can find more information about by clicking the icon to the left of Titel.

Step 9 - Add a Name for internal use
You can give the goodie a Name for internal use. This name is for organizational use and will never be shown to a customer.

Step 10 - Add a subtitle
You can also add a subtitle to your goodie that can elaborate on the title and make the goodie more interesting so it makes the guest click on it. To add a subtitle you have to click on the text field to the right of Subtitle in which you then write an appropriate, short and exact subtitle.

Step 11 - Add a Badge
It is also possible to add an offer tag to the goodie. Note that this does not have to be an actual offer but it can also just be something you wish to highlight about the goodie, for example a date, place, time etc. To add an offer tag you fill out the field to the right of Badge with a short and concrete tag. Further, this field supports interpolation.

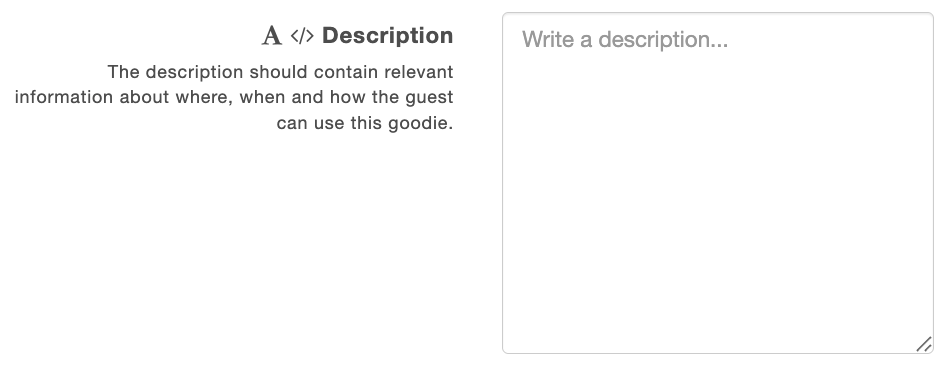
Step 12 - Add a description
Then you have to add a description to the goodie in the text field to the right of Description. This description should contain relevant information about for example how, when and where the guest can use the goodie.
Step 13 - Marketing
If the goodie contains marketing you need permission to show it to the guests. If the goodie contains marketing you have to choose Yes in the dropdown menu to the right of Marketing. Does the goodie not contain marketing you have to choose No.
If you have stated in the settings of the goodiepack that you do NOT have permission to send marketing to your guests a lock will be shown on top of the goodie if it contains marketing. Thereby, the guests will have to actively click on the lock and give their permission before they can see the content of the goodie.
If you state that the goodie does not contain marketing it won’t be locked with a lock and it’ll just be shown as usual.

Step 14 - Save
When you’ve filled out the fields in this step you have to click on Save at the bottom of the page to finish the creation of your reference goodie.