IKKE FÆRDIG How to design a place goodie
Step 1 - Go to ‘2. Add goodies’
To create a place goodie you have to click on 2. Add goodies at the top of the goodiepack designer.

Step 2 - Click on ‘Add a goodie’
Then you scroll down to the bottom of the page where you have to click on the circle that says Add a goodie.
Step 3 - Choose ‘New’ and ‘Place’
Then you are met with the opportunity to either create a new goodie or use an existing goodie. Here you’ll choose New.

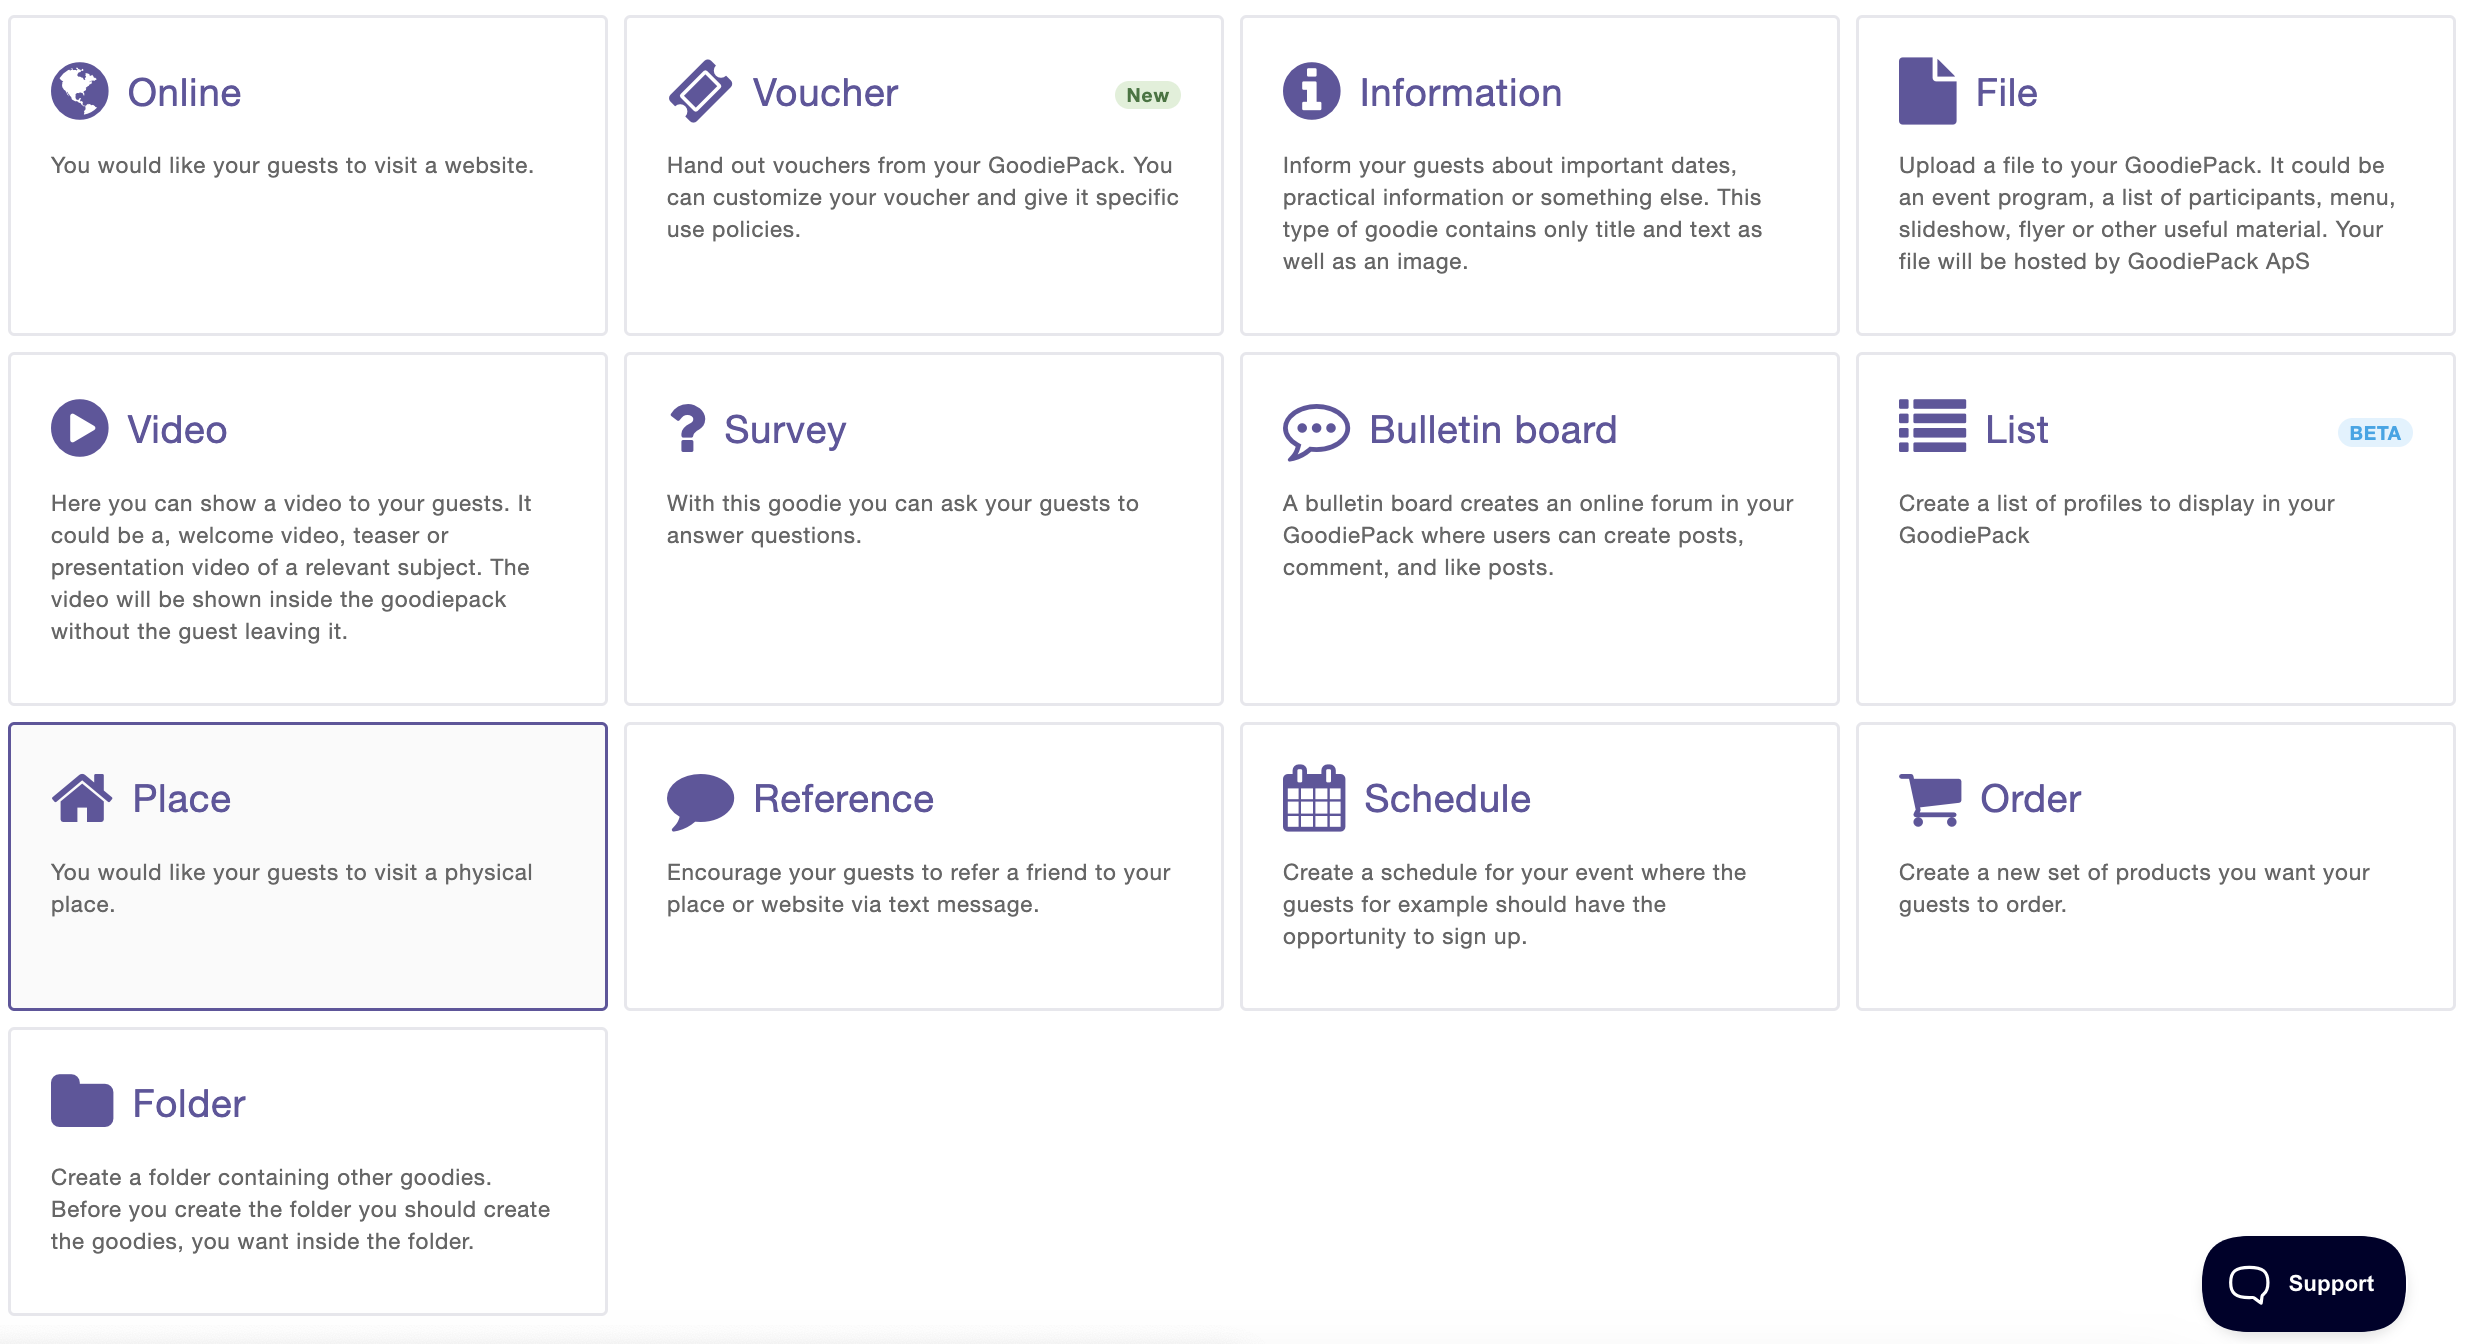
Now you can see an overview of the types of goodies you can create. Here you’ll choose the one called Place.
Step 4 - Design the content of the goodie - First step
Now it's time to design the content of the goodie which happens in two steps. The first step is called 1. Reference and here you’ll have to fill out all relevant fields.

Step 5 - Enter address
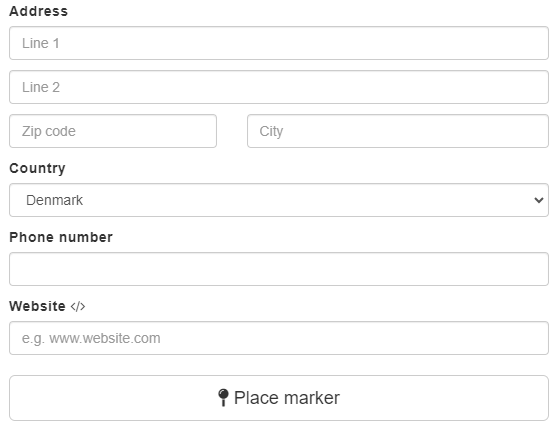
The first thing you have to do on this page is to enter where the guests have to go to redeem this goodie. There are two ways to do this:
1. The first way to do this is by using the search field at the top of the page where you can enter a place or the name of the company. Then the system will retrieve the information that’s available from Google and fill in the fields under Address, Phone number and Website.
You can still make changes in the information that has been found when you use the search function.

2. The second option is that you manually fill out the information in the fields. If you manually enter the information you can click on Place marker to add a marker on the map to the right.
Step 6 - Add address
When you’ve filled out the relevant fields you must click on Add address. You also have the opportunity to add more addresses the guests can see in the goodie. You do that by entering more addresses in the same way as explained above.

Step 7 - Activate and deactivate addresses
When you’ve clicked on the button Add address, the address will be saved and you can see the address(es) you have added at the bottom of the page. Here you can also choose which addresses that should be active in this goodie. You also have the option to delete the addresses again.
If you want the address to be active in the goodie then you have to check the box to the left of the address. It will automatically be checked when you’ve clicked Add address above. If you don’t want the address to be active then you click the box to the left again to deactivate it.

You can also activate and deactivate all addresses in the overview at once by clicking the box to the left of Zip code.